

Do you want to know the step-by-step process to build a new house?
New home construction is a complex process that involves various specialized trades and a labyrinth of government permits and inspections.
In this guide, we’ll cover…
- The 14 key steps to building a new house
- The essential building permits needed to begin excavation
- How a quality foundation stage can make or break your home’s future
- Why the home grading (slope of land) can help prevent water intrusion
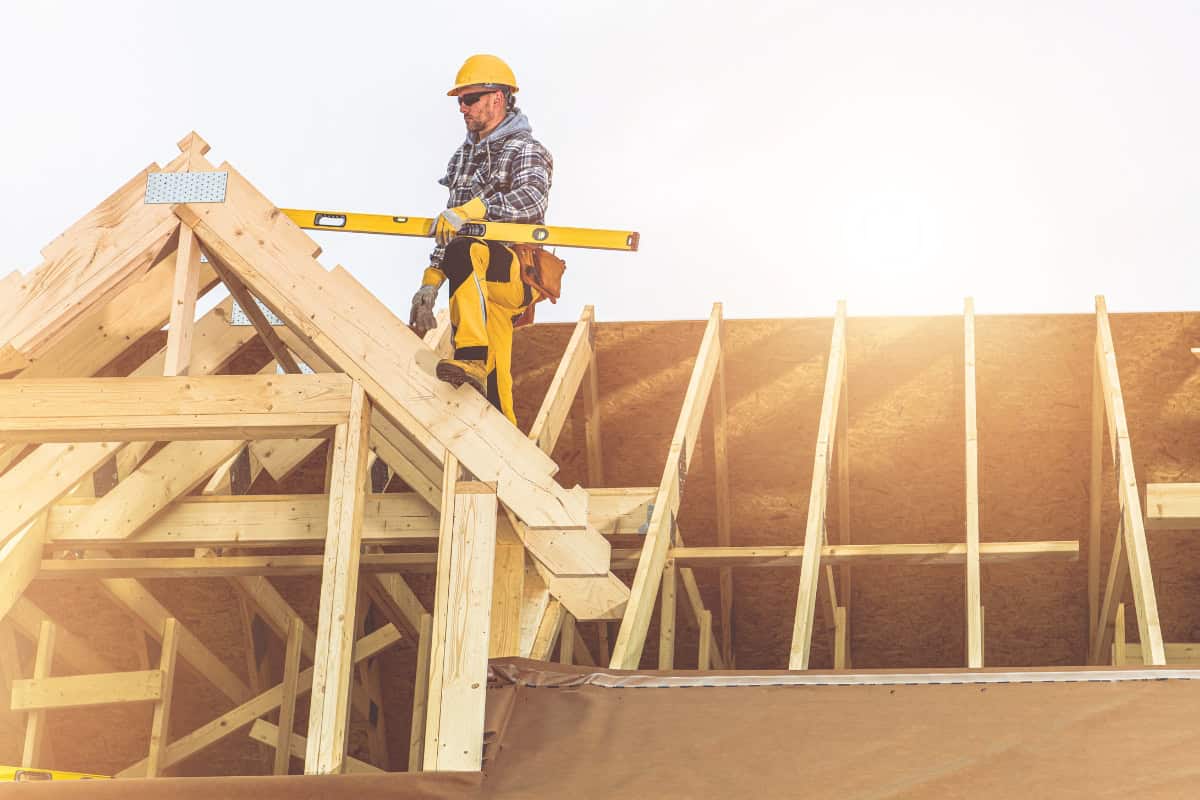
- Learn about the rough framing step which is the wood skeleton of the home
Let’s get started!
Step #1: Securing Permits
Before the land clearing and site prep can begin, the right permits will need to be secured at the local building department.
Without the correct permits in place, any existing construction can be stopped in place, and fines may be levied.
Some common permits before site prep can begin:
- Building Permit: This is the main permit for new home construction. You will have to submit the site plans to the local permitting office.
- Zoning Permit: This approval is to verify that the lot is properly zoned.
- Grading Permit: A grading permit may be needed for the removal, importation, or leveling of soil. Some areas only require a grading permit if more than 2,000-sf of land is disturbed.
- Erosion Control Permit: In addition to grading, municipalities sometimes require a permit to control erosion and stormwater runoff.
- Demolition Permit: If there are any old structures, garages, fences etc. that need to be removed, this permit is likely needed.
- Septic or Sewer Permit: If you plan on installing a septic system or changing the existing septic, this permit will be required to dig or modify the existing system.
Permits that need to get approved before construction:
- Electrical: An electrical permit is needed to install temporary power and to do any wiring.
- Sewer/Water connection: Before connecting to main water/sewer, a plumbing permit is required.
- Plumbing: Any piping in the home will need a plumbing permit first.
- Mechanical: An HVAC or mechanical permit is required prior to ducting or HVAC installation.
- Road: Depending on the lot and road access, you may need to get a road and/or driveway permit.
Step #2: Site Preparation
Before construction can begin, the land needs to be prepped and cleared.
Any trees, large rocks, existing structures, or underground obstructions will have to be removed.
Many times a silt fence is installed around the lot site to prevent erosion and soil from washing away onto the road and other properties.
Leveling The Ground
The ground at the base of the home needs to be level, which may require adding or removing additional dirt. The elevation may also need to be raised or lowered depending on the site plan.
The lot may also need to be contoured to improve drainage so that rainwater drains away from the house.
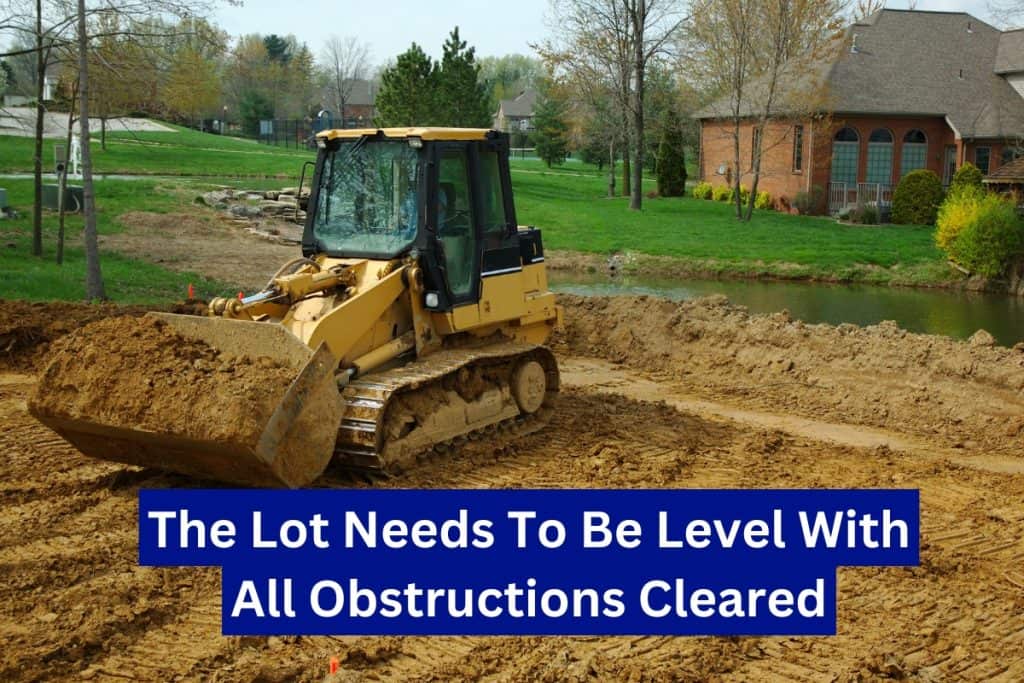
One essential part of preparing the ground is proper compaction. When dirt is moved around, it gets loosened up and it will need to be compacted to provide a solid base for construction.
Once the site is leveled and prepared, the trenches for the footers (and possibly basement) can now be dug.
Excavation Depth
The depth of the foundation will be according to the house plans but the local frost line is a major consideration. The frost line is basically how deep the ground freezes during winter which averages between 1 and 3 feet but can be deeper in northern areas.
The deepest frost line in the USA is in Alaska which is over 12-feet.
If the foundation isn’t poured below the frost line, the freezing and thawing ground can literally move the foundation and cause structural problems.
Drain and Waste Piping
It is essential that during the site prep phase, drain and waste piping should be laid out before the footers or slab is poured.
If this phase was skipped, contractors would have to waste a lot of time using jack hammers in order to install drain piping. A mini excavator is used to dig out small trenches in order to lay down the pipes.
A temporary power pole or T-pole will also need to be put up so workers on site have access to electricity. A T-pole is usually put on the corner of the site and the pole is shorter than a standard utility pole — maybe around 15-feet or less.
The temporary power connection has a disconnect, a power meter, and sometimes breakers — allowing contractors to get power and use their tools.
Cost And Timeline
Site prep for new house construction will take anywhere from 1-5 weeks depending on the size of lot, amount of obstructions, and other factors. The average cost will be in the $7,500 for small lots and up to $35,000 for average sized lots.
Step #3: The Foundation
After there is a level base for the home and the holes for the foundation have been excavated — pouring the foundation (and possibly basement) can start.
The four main types of foundation are basement, slab-on-grade, crawlspace, and pier & beam. I encourage you to read our guide on crawl space building code here if your area installs them.
The foundation is basically composed of two parts: the footers, and the foundation walls.
Footers
The first step is to pour the footers. Footers are wide rectangular blocks that supports the weight of the home and foundation walls — at least 12-inches deep and 16 to 24 inches wide.
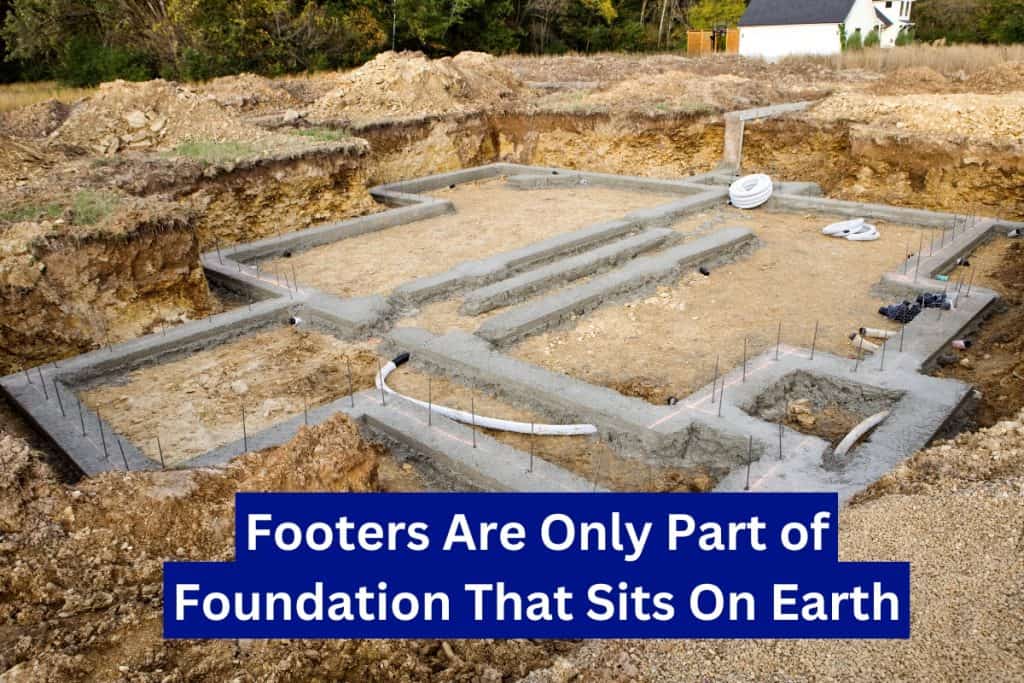
The footers are the only part of the foundation that actually sits on the dirt. These footings will be along the perimeter of the home but will likely have some interior sections if there is a basement.
A pump truck will be sent to the jobsite which has a long boom that can precisely pour concrete into the footer trenches (and the foundation wall forms). The footer trenches are also dug using mini excavators.
Foundation Walls
After the footings are cured, formwork will be installed above the footings which are just molds for the foundation walls.
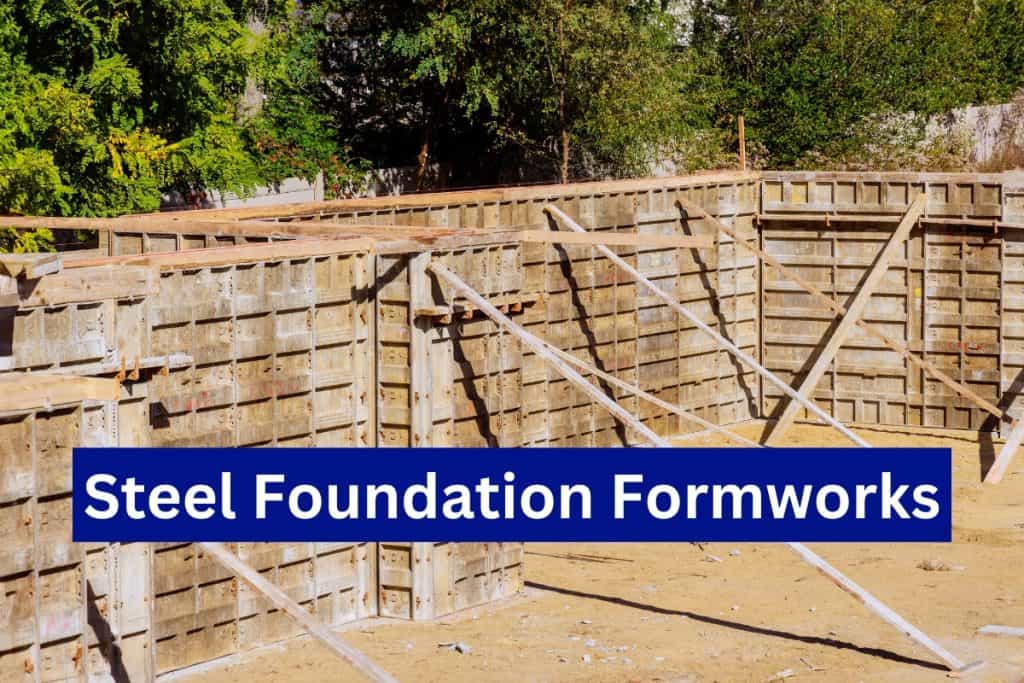
The foundation wall formwork can be made out of wood, steel, aluminum, or even plastic.
Footers sometimes require formwork but quite often it isn’t needed since trenches are dug.
Once the concrete is poured for the foundation walls (above the footings) and it will take 7-10 days to cure. After the foundation walls are cured, the formwork is removed and a layer of waterproofing tar is applied.
A dimpled membrane is sometimes also installed which creates an air gap and helps divert water to the drain tile system along the perimeter.
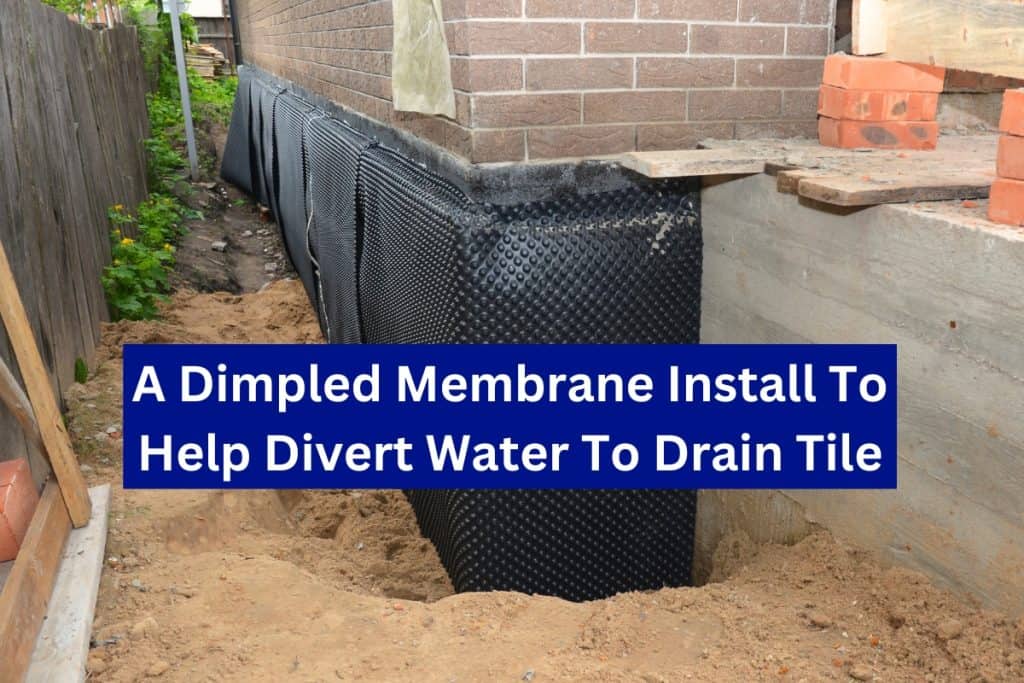
Dirt must be backfilled and compacted along the exterior of the foundation walls.
I invite you to read our guide on foundation defects and who inspects them here.
Cost And Timeline
The price for a foundation will vary greatly based on the type of basement and your local area. The average cost for a foundation will be anywhere from $5 per SF and up to $30 per SF. The square footage is based on the entire footprint of the home which excludes upper home levels. A typical timeline for pouring a foundation is anywhere from 2 to 4 weeks.
Step #4: Rough Framing
Once the foundation has cured, the rough framing/carpentry of the home can begin.
Sill Plates AKA Green Plates
Sill plates need to first be installed on top of the foundation walls. Sill plates are long horizontal pieces of wood that go over the top of the foundation walls.
They are also called green plates since they need to be pressure-treated wood to resist moisture damage.
These wood boards will serve as the base of the entire framing structure and it is the only wooden member that is in contact with the concrete foundation.
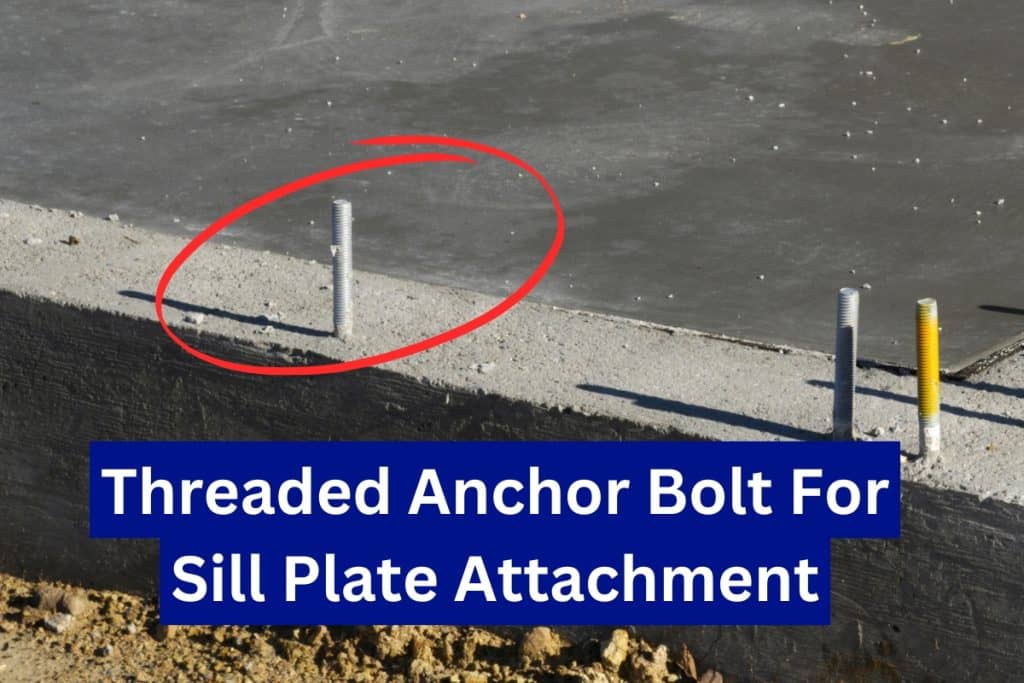
The sill plates will be secured to the foundation using anchor bolts that are sticking out of the foundation wall. The anchor bolts have a threaded end so the sill plates can be tightly bolted down.
Subfloor, Wall Framing, Exterior Sheathing
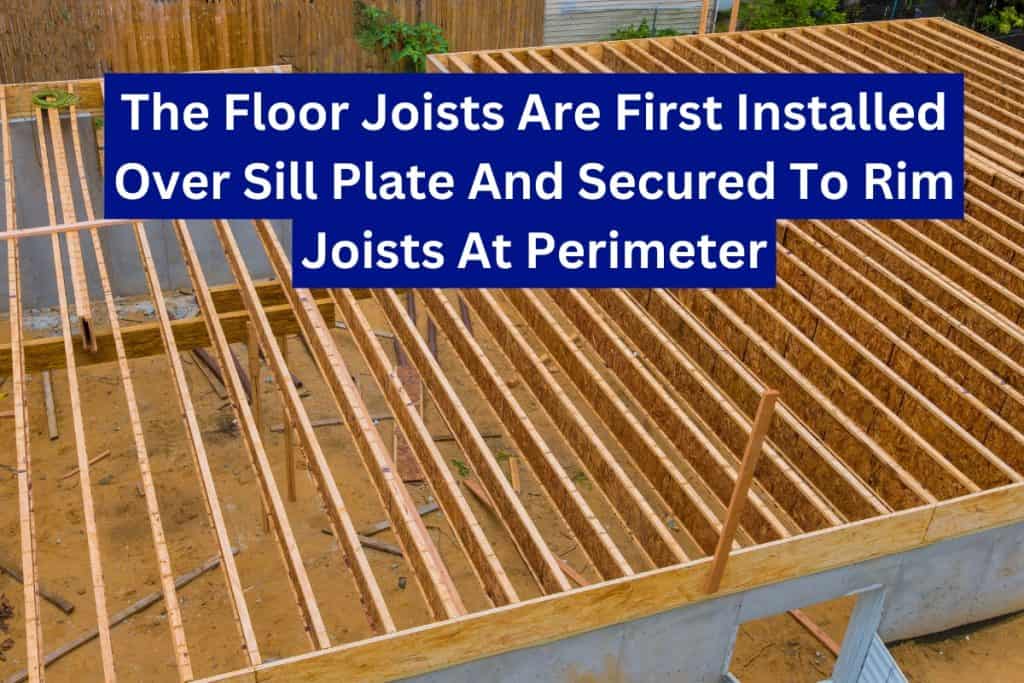
The floor joists will be installed next which are typically engineered joists but some homes still use solid wood or ‘dimensional’ lumber.
Once the floor joists are installed, the subfloor (made out of OSB or plywood) will be installed over the floor joists.
With the subflooring installed, the exterior and interior walls can be built which is typically 2×4 inch studs for interior walls and 2×6 inch studs for exterior walls.
OSB sheathing can now be nailed to the exterior walls which provides the base for the vinyl siding, brick veneer, or stucco.
Traditional Vs. Pre-Fabricated Stairs
Stair stringers are the structural pieces of wood that run along the sides and which holds the risers and treads.
With traditional home construction, stairs would be built on site using notched stair stringers.
Currently, new houses largely use pre-fabricated stairs which are assembled fully in the factory or partially assembled. A modular or partially assembled stairs is put together on site.
I recommend reading our guide on residential stair code here to learn about the regulations for new stair construction.
House Wrap
A house wrap gets secured to the exterior walls to provide a waterproof barrier against rain — it is usually white in color. The house wrap goes in-between the OSB sheathing and the siding. The idea is to resist water and air infiltration but to allow moisture to escape from the inside.
You may also see the Zip System installed which is sheathing and a water-resistant and air barrier in one. These trademarked panels are usually green in color and sometimes called zip boards or green boards. Zip boards are taped together with black flashing tape to create a water-resistant air seal.
Thicker and more expensive Zip boards will be brown in color instead of green.
Roof Trusses
The roof structure is typically engineered roof trusses which are made at the factory to precise specifications.
These triangular roof trusses will be delivered pre-assembled to the job site and they will be lifted onto the upper level of the framing using a truss crane.

If trusses aren’t used, the ‘rafters’ will need to be cut and installed on the job site. Rafters are simply solid pieces of wood or ‘dimensional’ lumber.
Once the roof trusses or rafters are installed, the roof sheathing is nailed into place and a waterproof felt or rubber membrane is installed onto the roof sheathing.
Cost And Timeline
The average cost per SF for the rough framing of a new home is in the $6 to $18 range.
The price will be greatly dependent on your local market, labor availability, and materials cost. A house that is 3,000-SF will cost anywhere from $12,000 to $54,000. The timeline for the framing will be in the 1-4 month range.
Step #5: Windows And Doors
Windows and exterior doors are usually installed after the exterior sheathing and house wrap is installed.
Completing the building envelope (windows, doors, walls) helps protect the home from the weather and it also allows contractors to quickly start on interior work.
Flashing
The first step of installing windows and doors is to apply flashing tape to the rough opening which helps prevent water damage around it.
A sill flashing membrane on the sill is also typically installed in addition to flashing tape.
Windows will need head flashing which is a piece of metal at the top that prevents water intrusion.
Doors will also need a door sill pan to prevent water intrusion at the bottom.
After the door or window is installed, it may need shims to make them level.
Insulation such as fiberglass or spray foam is added around the window or door to give it a tight air seal. Any additional flashing or trim is installed around the window or door.
Cost and Timeline
The average cost for each window will be in the $250 to $900 range (labor and cost).
The typical exterior door will be in the $400 to $2,000 range which includes labor and the door. Installing all the windows and doors shouldn’t take more than several days.
Step #6: Utility Rough-In (The MEPs)
The utility rough-in stage of construction is when the mechanical, electrical, and plumbing gets installed: also known as the MEP rough-in.
Plumbing
The plumbing gets installed first since it needs long runs and is much harder to move around than HVAC ducting or flexible electrical conduit.
The piping is usually CPVC (chlorinated polyvinyl chloride) which is a cream-colored plastic, or PEX (cross-linked polyethylene) that is commonly blue and red plastic. Copper isn’t really used anymore in new home plumbing due to the high cost.
Gas piping is also handled by the plumber and it is commonly CSST (corrugated stainless steel tubing) or black iron pipe. You can read our guide on CSST building code requirements here.
All of the pipes include:
- Hot water supply
- Cold water supply
- Drain (greywater: sinks, dishwasher etc.)
- Waste (blackwater: toilets)
- Venting
- Gas
The vent piping frequently goes vertically through the roof, most homes have at least 2-3 vent pipes.
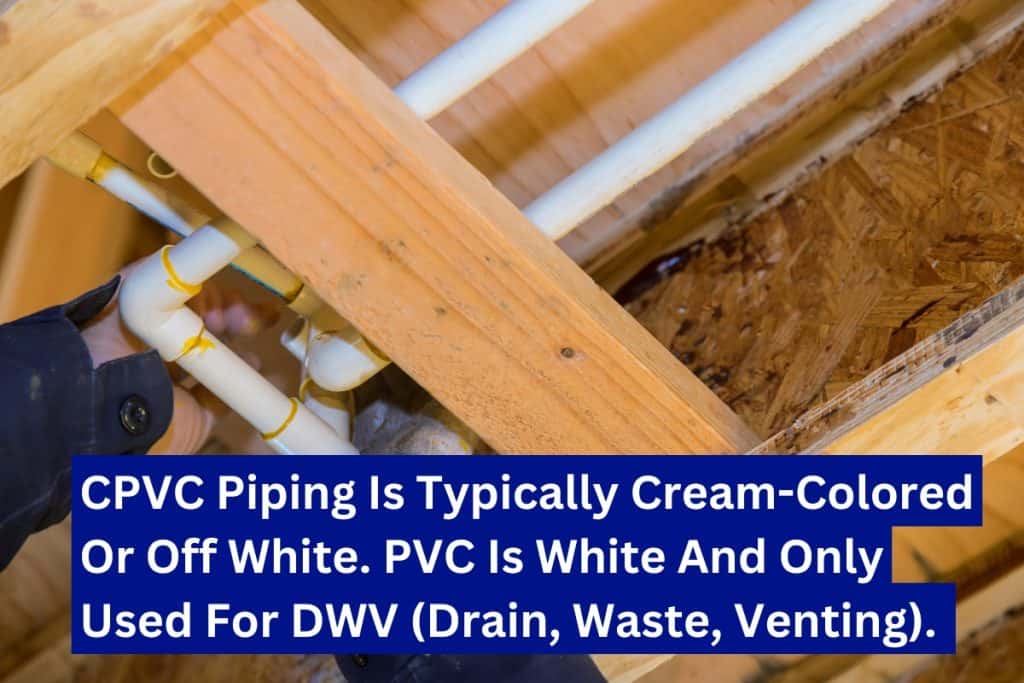
The drain, waste, and vent piping is commonly PVC or ABS plastic which is typically bright white or black.
The piping will be routed to each plumbing fixture such as sinks, toilets, showers, dishwasher etc. The pipes are stubbed out (short sections sticking out of floor or wall) precisely where each fixture will be installed later.
The supply water pipes are typically capped and pressure tested while the drain pipes may be left open.
Cost and Timeline
The average cost for the rough-in will be around $2 to $5 per SF for each system.
And a typical timeline for the utility rough in will be in the 2 to 5 week time range.
HVAC
It’s best for the HVAC ducting to be installed after the plumbing but there may be some overlap.
The HVAC supply ducts gets installed to each room with registers in the floors, ceilings, and walls.
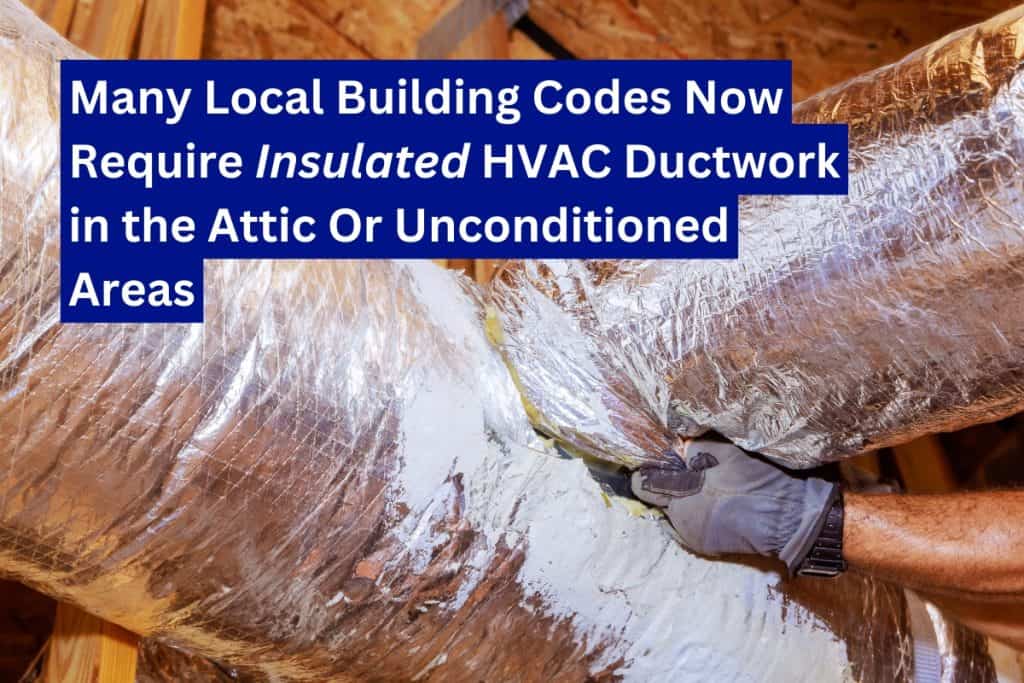
The return vents get installed which are the much larger vent openings where air gets sucked into and sent back to the air handler or furnace.
The heat pump or furnace is typically installed in the basement but it can also be placed in the attic or main level utility closet.
Electrical
The electrical wiring gets installed last and will get conduit routed to each outlet, light switch, and fixtures throughout the home.
The most common electrical wiring or conduit is called NM cable (non-metallic) or Romex. In some parts of the United States, MC cable (metallic cable) is more common such as in Chicago or New York.
Dedicated electrical circuits will be provided for the kitchen appliances as well as separate GFCI circuits for the kitchen, bathrooms, and exterior outlets.
An electrical panel is installed with breakers for all of the circuits in the home.
Modern homes typically have numerous AFCI breakers installed at the panel which cuts off power if there is any arcing detected inside the walls to prevent fires.
Step #7: Insulation
After the rough-in stage, insulation gets installed in the home just prior to the ceilings and walls being covered in drywall.
Insulation is rated according to its R-value which is a measurement of heat flow resistance. The higher the R-value, the better the insulation works.
The exterior walls typically get insulated first and in-between the vertical studs.
The insulation material are commonly fiberglass batts, cellulose, spray foam, or rigid foam board. In cold climates, floors also get insulated between the floor joists.
Attic Insulation
For attics, the most common types of insulation are blown-in fiberglass and blown-in cellulose.
The loose-fill insulation is composed of many tiny pieces and gets installed by blowing the insulation into the attic through a hose.
Cellulose is made from recycled paper and is treated with non-toxic fire retardant chemicals. Cellulose has a high R-value of about 3.5 per inch while blown fiberglass is around 2.5 per inch.