

Do you want to stop your smoke detector chirping or giving false alarms?
If you are waking up in the middle of the night from beeps or random sirens — it can be a frustrating issue if you can’t figure it out.
In this guide, we’ll cover…
- Fixing a smoke detector chirping
- How to stop false alarms
- Common causes of false alarms
- How to deal with a carbon monoxide detector going off
- And sample troubleshooting tables
Let’s get started!
What To Know Before Troubleshooting
Shutoff Power At Breaker
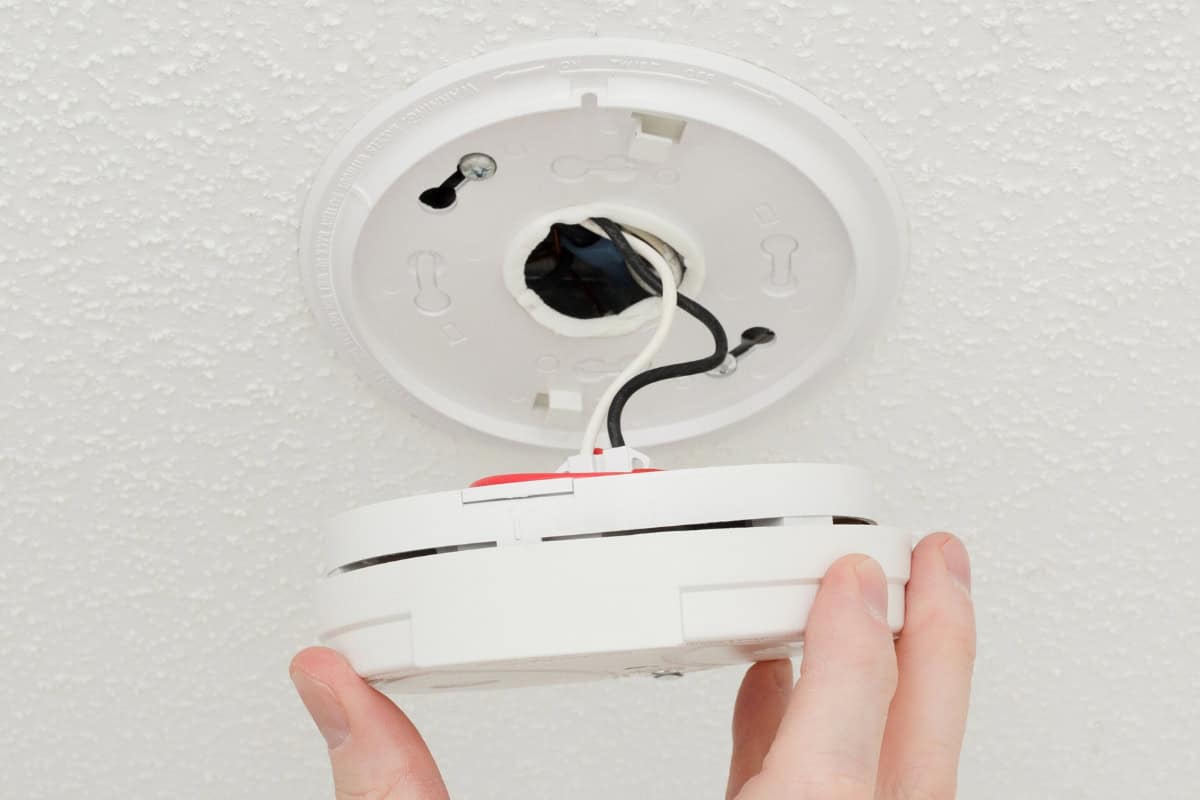
If the smoke detectors are interconnected or hardwired, removing the alarm from the housing can present a shock hazard since the wiring is exposed behind it.
I recommend shutting off the breaker at the panel to be safe.
Using The Test/Reset Button
Every smoke detector has test/reset button on the front cover that can control the horn.
- Silence Or Hush Mode: Most modern smoke detectors have a silence or hush mode that can silence an alarm going off or if it’s chirping by pressing and holding the button.
- Testing It: The button can be quickly pressed once to test the alarm. If it’s already in silence mode, you may need to hold down the button. Press it again to stop the alarm. Anytime it’s cleaned or removed, test the detector afterwards.
9 Ways To Fix Smoke Alarm Chirping and Beeping
There are typically three main reasons a smoke alarm chirps which is typically one chirp every 60-seconds.
- Low Battery: This is the most common reason for a smoke detector chirping. The smoke alarm has a program that makes it chirp when the battery is low or faulty.
- End of Life Signal: Some smoke alarms beep when they near the end of their lifespan (typically 8–10 years). This means that even with a new battery, the unit will keep chirping due to the end of life program. Likewise, if you have a smoke alarm with a permanently sealed battery, the entire unit will have to be replaced.
- Malfunction: Depending on the smoke detector model, it may have a program that chirps if there is a malfunction. The beeping may be more frequent such as 3-chirps per minute or it may happen on a 40-second interval instead of 60-seconds.
There are a few other reasons why a smoke alarm can chirp, we’ll go over the possibilities below and how to deal with it.
#1. Hit The Test/Reset Button
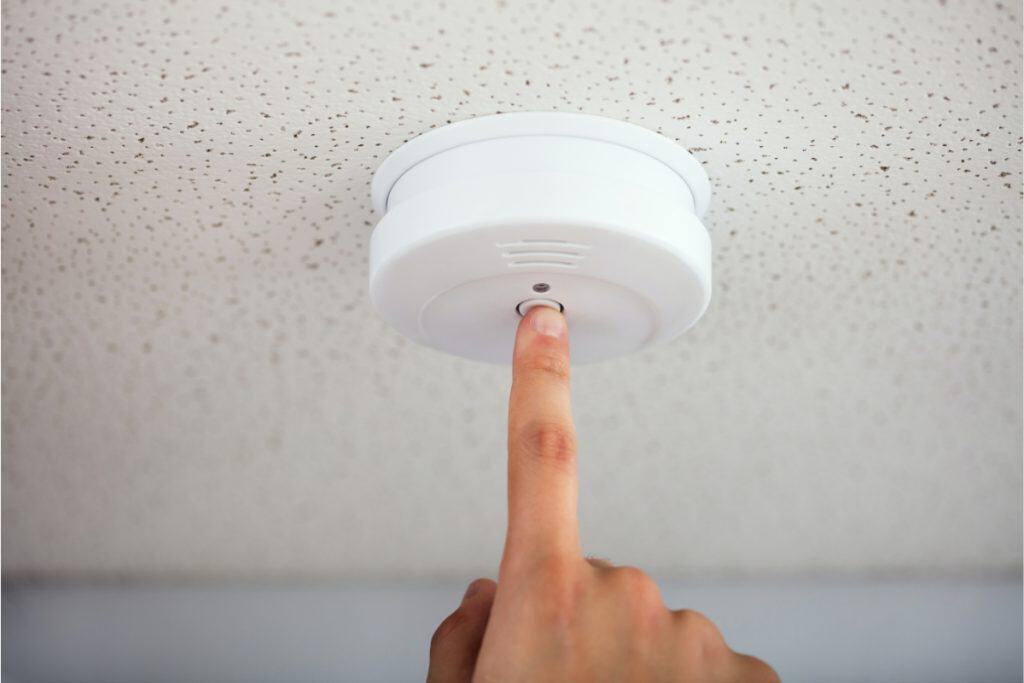
The easiest way to quiet a chirping smoke alarm is to hit the test/reset button on the unit — also known as the silence button.
Pressing this button will temporarily turn off the chirping for around 8-hours (depending on the model) if it’s related to a low battery. If the chirping is a result of an end of life program, pressing the reset button should silence it for about 2-days or longer before the chirping resumes.
Independent Chirping
Hitting the test/reset button will only work for the individual smoke alarm that is chirping. You will have to individually locate each alarm that is making a chirp and silence it. If you have multiple alarms chirping, it likely means they were installed at the same time and either have low batteries or at the end of their life.
4 Steps To Silencing A Smoke Alarm
- Determine which smoke alarm(s) is chirping. The smoke detector may also be flashing green or red to indicate that it has chirped. Normal operation is usually a continuous green LED if it has not chirped.
- Locate the silence or test/reset button on the smoke alarm cover. There is usually just a single button on the unit so it isn’t hard to find.
- Hold down the reset button for 5-10 seconds. You may hear an acknowledgment beep when you press it down to let you know it’s in silence mode.
- Depending on whether it’s a low battery or end of life signal, hitting the test/reset button will stop the chirping for a period of several hours before it resumes chirping once a minute.
NOTE: Silence or quiet mode doesn’t shut off the smoke alarm, it just puts it into a mode that is less sensitive to triggers and it will automatically go back to normal after a period of time.
Read Also >> Where To Place Smoke Alarms? (Building Code Explained)
#2. Replace The Battery
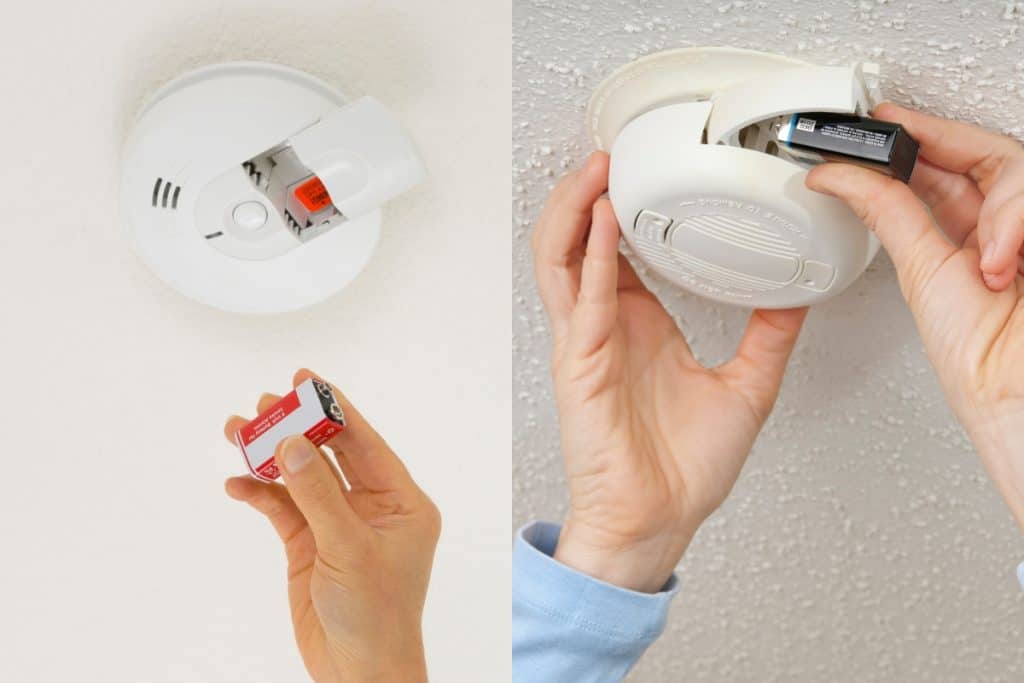
If you hear chirping from your smoke alarm, it is likely from a low battery but there are some other possibilities as explained later in this article.
If you have a newer type of smoke alarm with a sealed battery compartment, this means you won’t be able to change out the battery and it will need replacing. The average smoke alarm has a lifetime rating of 8-10 years.
Battery Quality
Your particular smoke alarm model may also have required battery brands listed in the manual but I recommend at minimum buying a well-known brand like Duracell or Energizer. Poor quality batteries can reduce the life expectancy or cause malfunctions.
9 Steps To Changing The Battery
- Find the battery compartment. The battery may be on the side, the front, or the rear of the alarm. If it’s on the underside, you will need to unscrew the top of the smoke alarm counterclockwise from the housing.
- If the unit needs to be removed, first shutoff power at the electrical panel since there is a shock hazard if it’s hardwired.
- Carefully disconnect the smoke alarm by rotating it counterclockwise. Some smoke alarms have tabs on the side that may need to be pried open with a flathead screwdriver in order to rotate the alarm and pull it free.
- Disconnect the wiring connection if it is hardwired. The wiring usually has a quick-connect plug that can be easily detached.
- Open up the battery compartment.
- Change out the battery with a high quality battery — commonly 9-volt.
- Replace the battery cover.
- Screw smoke alarm back into housing with a clockwise turn.
- Hit the test/reset button to verify it is working.
#3. Do A Hard Reset By Draining Power
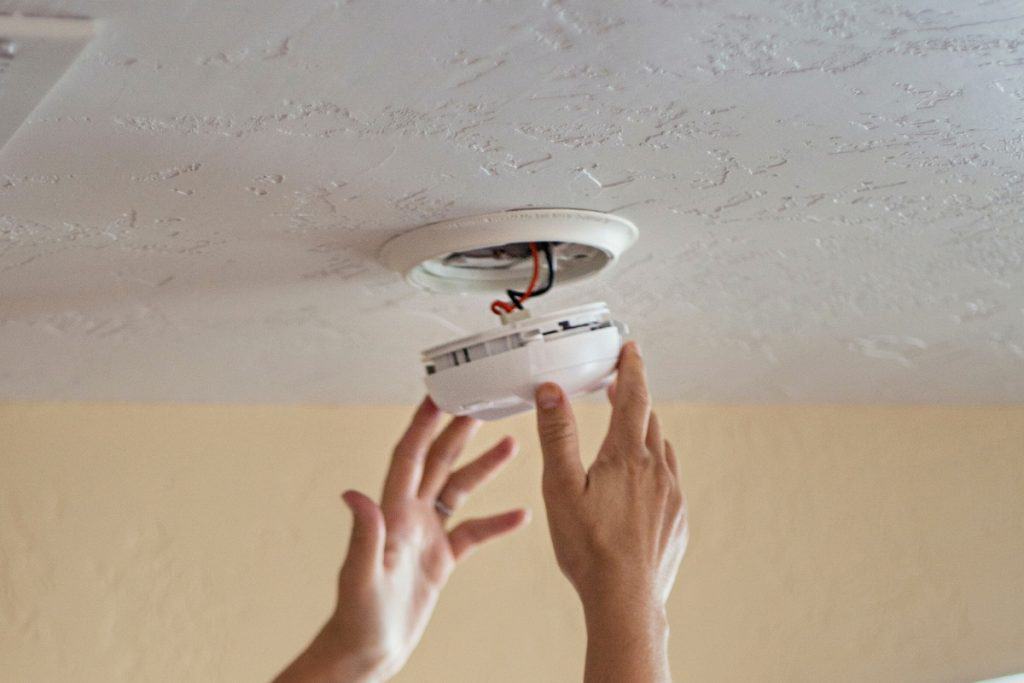
Sometimes smoke alarms need a hard reset in order to stop chirping even after changing out the battery.
It’s possible for a smoke alarm to hold a chirping program in the memory through residual power in the capacitor and other electrical components. So even with a fresh battery, the unit will keep chirping as if it still has a low battery.
- Follow the steps in previous section to remove the battery.
- Disconnect the wiring harness if hardwired to AC power. Shut off power at the breaker first to avoid a shock hazard.
- With the battery and wiring (if on AC power) removed, press and hold the test/reset button.
- Hold the test/reset button for 10-20 seconds to allow all residual power to leave the unit.
- Re-install battery, wiring connector, and screw smoke detector back into the housing.
- Hit test/reset button to verify it’s working.
- Wait and see if chirping resumes.
Read Also >> How Many House Fires Happen Per Year? (47 Key Fire Statistics)
#4. Clean The Smoke Alarm

Many modern smoke alarms will chirp if the unit is dirty.
A common culprit is renovating a home when there is sanding, drywall patching, or painting prep. The particles can float into the smoke alarm and obstruct airflow — leading to annoying chirps.
I recommend using a can of compressed air or a vacuum with brush attachment to clean the unit.
LED Light Pattern
Some smoke alarms will flash green off/on when the smoke alarm needs to be cleaned. It depends on your smoke alarm brand but any LED light pattern other than continuous green (normal operation mode) signals that something is off.
For example, the First Alert Smoke Alarm (SMI100) flashes the GREEN LED light twice every minute to signal that it needs cleaning.
Where To Clean?
The two main types of smoke alarms are photoelectric and ionization. Photoelectric units will have a light chamber or vent on the top of the unit. Ionization smoke alarms will have vent holes on the side of the smoke alarm.
You may also have a combo alarm that has ionization AND photoelectric in one unit.
These vent openings should be carefully cleaned with compressed air or a vacuum brush attachment.
CAUTION: Be careful to avoid cleaning sprays or water on the smoke alarm. If you use a damp rag, make sure it is only lightly damp and not wet.
4 Steps To Cleaning A Smoke Alarm
- Have a can of compressed air or vacuum with brush attachment ready.
- Clean the air intake port on the front of the unit.
- Clean any air intake ports on the sides of the smoke alarm.
- After cleaning, do a hard reset, drain all power from unit, and hit test/reset button (described in section #3 above).
#5: Inspect And Clean Battery Terminals
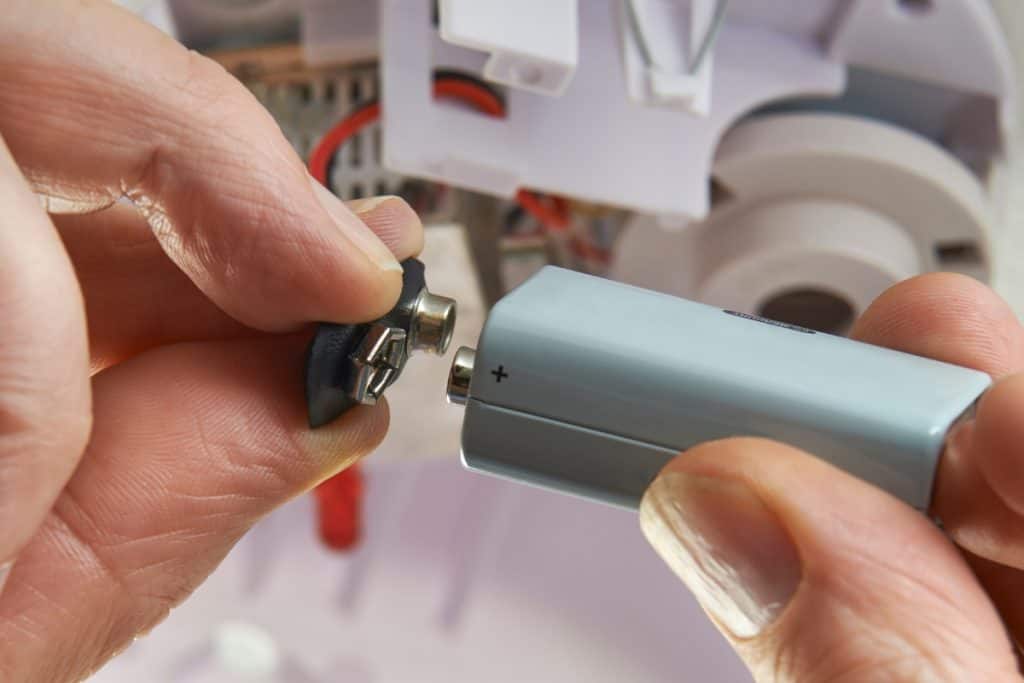
Sometimes even with new batteries, if the terminals are dirty, it can cause beeping.
If the battery terminals are dirty, corroded, or bent out of shape, it can cause a poor electrical connection which activates the low battery (or unreliable power) chirping alarm.
Dirt and debris on the battery terminals insulates the terminals and reduces the battery connection. A poor terminal connection can lead to low battery signals as the power weakens.
8 Steps To Cleaning Battery Terminals
- Remove smoke alarm.
- Remove the battery cover.
- Remove the battery.
- Look at the terminals and verify that they aren’t corroded, dirty, or bent.
- If dirty, clean the terminals with a vacuum brush attachment or can of compressed air.
- Use a toothpick or small brush to remove any stubborn debris.
- If the terminals are bent, try to straighten them.
- When re-installing the battery, make sure the polarity is correct for the terminals.
Read Also >> The 5 Leading Causes of House Fires
#6. Replace The Smoke Alarm
If all else fails, the smoke alarm may have an internal fault or be at the end of its life.
For example, the popular First Alert smoke alarm will chirp:
- Three times per minute if there is a malfunction
- Five times per minute if its near the end of life
- One time per minute if it has a low battery
Your smoke alarm may have a similar chirp frequency programs built into it.
When the smoke detector has a malfunction or its at the end of its life — there’s really nothing you can do but replace it.
Check the expiration date on the back of the smoke alarm but the information may be blank if it needed to be written down by the original purchaser.
#7. Inspect The Wiring Harness
The wiring harness or connection is what connects the smoke alarm to the home’s AC 120-volt power if it’s hardwired. Sometimes the wiring harness itself can be damaged, loose, or dirty.
4 Steps To Inspecting Wiring Harness
- Shutoff the breaker to the smoke alarms.
- Remove smoke alarm from housing.
- Disconnect the wiring harness.
- Carefully inspect the wiring harness for loose or a damaged connection.
#8. Troubleshoot Smoke Alarms Individually
Low battery chirps will typically affect smoke alarms independently. If all of your smoke alarms are chirping, it likely means that they were all installed at the same time.
If you only have a couple alarms chirping, you can look for changes in the LED indicator light on the cover. The LED light on the alarms that chirp will usually turn a different color or it will flash — just another way to find the smoke alarm with an issue.
Otherwise, you will just have to stand near the smoke alarm and wait for a chirp to verify the source.
FINAL STEP: Test The Unit
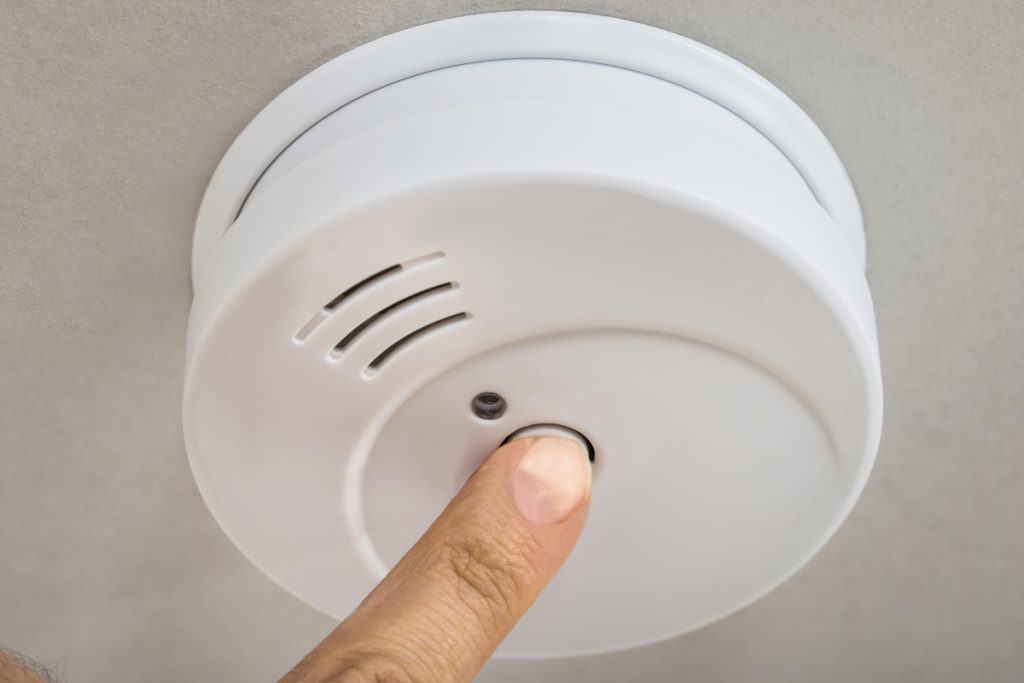
After cleaning, changing the battery, or any other troubleshooting step — make sure to test the smoke alarm.
The power LED should emit a continuous green light when it is operating normally.
Hit the test/reset button on the cover to verify that it is working. If the smoke detectors are interconnected, all alarms should go off at the same time.
An even better option is to use a can of fake smoke that can be bought online for a few bucks. It is sprayed onto the detector which I use during home inspections, read about my testing process here.
5 Ways To Fix Smoke Alarm Going Off For No Reason (False Alarms)
A smoke alarm that goes off for no reason is an extremely frustrating problem. False alarms make occupants less responsive to future alarms, the boy who cried wolf phenomenon.
If your smoke alarms are hardwired or interconnected, you can find the alarm that started it by looking at the LED light on the cover. The initiating alarm should be emitting a RED color even after the alarm has ended.
The other smoke alarms should retain their continuous green LED light pattern.
However, this ‘after the alarm’ LED pattern may only appear if your smoke alarms have AC power rather than just on battery.
#1. Quickly Turn Off False Alarm
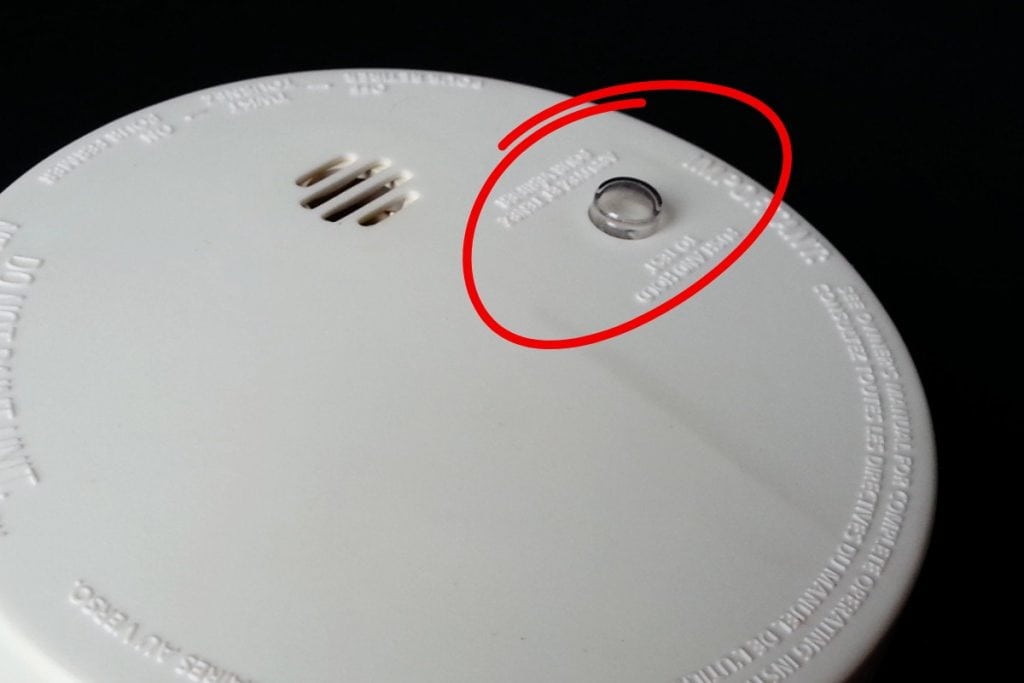
If you are currently dealing with a false alarm, you have a few options to quickly shut it off.
- Press And Hold The Silence Button: There should be a silence or test/reset button on the front of the alarm. Hold down the button on the unit until you hear an acknowledge chirp. It may take a couple seconds. With other units, it may just be a quick press of the button.
- Silence The Initiating Alarm: Depending on your model, you may need to silence the alarm that initiated the false alarm if they are all interconnected or hardwired together. The initiating alarm will typically flash a continuous or repeating RED led light on the cover. Press and hold the test/reset button until the alarm is muted.
- Open Windows: Open a window or two to allow more air circulation in the room.
- Fan The Alarm: Use a notebook or magazine to fan the smoke alarm with fresh air. This usually shuts it off within a few seconds.
- Flip The Breaker: As a last resort, find the breaker for the smoke alarms in your electrical panel. There should be a label for it in the panel door that tells you the breaker number. CAUTION: Only flip the breaker if you are certain it’s a false alarm. Remember to turn the breaker back on or you will be unprotected.
Read Also >> How Many Electrical Fires Happen Per Year? (47 Statistics)
#2. Clean The Unit
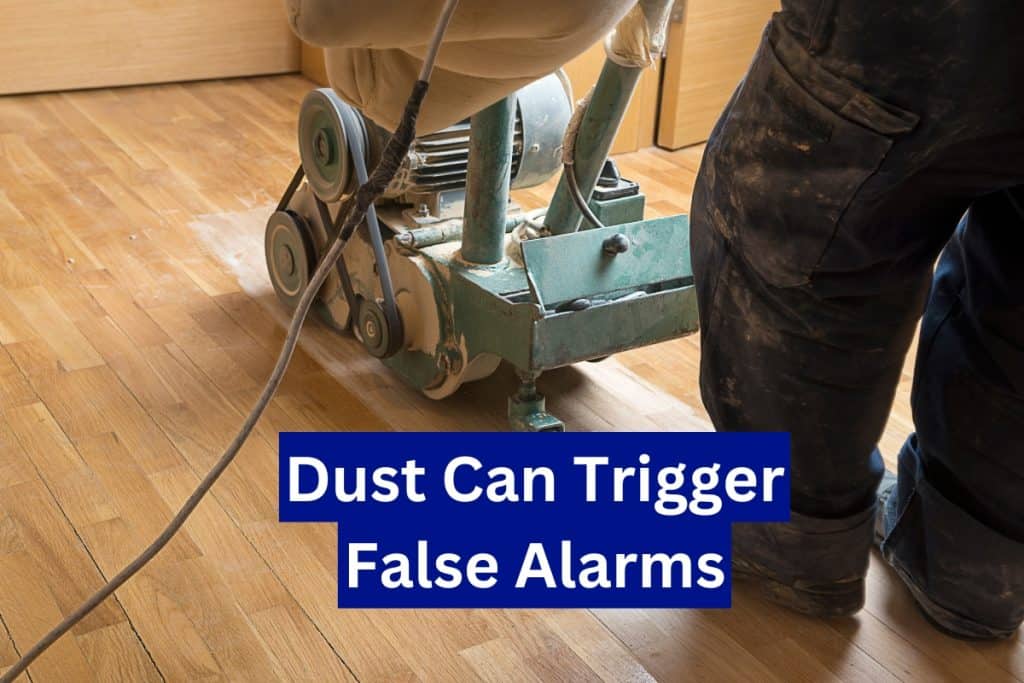
A dirty smoke alarm from household dust, drywall debris, or insects can cause false alarms.
Spiders making cobwebs inside or around the unit is also a common false alarm culprit.
False alarms are a common experience with newly renovated properties due to paint, sanding, floor refinishing, or drywall patching. The dust floats up and into the smoke alarm, making them siren or chirp.
CAUTION: Be careful to shut off power at the breaker if you plan on removing the smoke alarm if it’s hardwired.
There are a few easy ways to clean the smoke alarm.
- Use A Damp Rag: The easiest option is to just wipe down the exterior with a damp rag. Make sure to wipe the hole in the center as well as any air ports on the side of the unit.
- Use Compressed Air: A can of compressed air is a great option to clean it. Focus on the vent holes on side and especially the center hole.
- Clean Battery Compartment & Terminals: You may also want to remove the battery cover and clean out the terminals.
#2. Relocate Or Change Type of Smoke Alarm
If you suspect the smoke alarm is tripping due to cooking fumes/smoke, steam from a bathroom, or even an HVAC vent — you can try changing or moving the alarm.
Ionization smoke alarms tend to be the most sensitive to false alarms, and you can replace it with a photoelectric style smoke alarm. You can also just try moving it do a different location. I invite you to read our detailed guide on where to place smoke detectors here.
Due to large combustion particles produced in the kitchen, garage, and utility rooms — it’s recommended to keep smoke alarms at least 20-feet away. And it’s best to keep smoke detectors at minimum 10-feet away from bathrooms, dishwashers, laundry rooms, or saunas.
If you have a smoke detector in a very cold or hot unconditioned room, the extreme temperature may be setting off the alarm as well.
#3. Change Battery
Even though a low or bad battery is typically associated with chirping rather than false alarms — changing out the battery sometimes does the trick.
A low battery or a bad battery can sometimes trigger false alarms and changing it out is possibly a fast and cheap solution.
I strongly advise looking up the manual of your smoke alarm model. Some manufacturers will specify the compatible brands of battery for your smoke alarm. If you use a cheap off-brand batteries, it will increase the chances of malfunctioning or not reaching the advertised life expectancy.
For example, the First Alert Smoke Alarm SMi100 specifies in the manual to only use:
- Duracell #MN1604
- Duracell Ultra #MX1604
- Energizer Eveready #522
- Energizer Eveready #1222
Some smoke alarms have the battery compartment on the side or front of the unit. Other units you will have to remove the smoke alarm from the bracket by turning counterclockwise. Remember to shut off power at the breaker box first since there is a shock hazard if it’s hardwired to AC power.
Do Hard Reset Before Changing Battery
Before changing the battery, I recommend doing a hard reset by taking out the old battery and disconnecting the wiring harness (if hard wired).
Remember to shut off power a